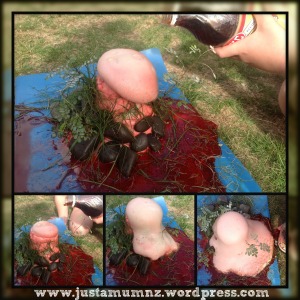
 My son’s homework assignment this week was to do a volcano experiment so while a friend was here we decided to give it a go. The boys wanted to use salt dough instead of playdough and if we had thought of it a few days ago we could have baked it or let it airdry. It takes several days to airdry or alternatively you bake the dough at a low temperature in the oven for several hours until fully dry and hard.
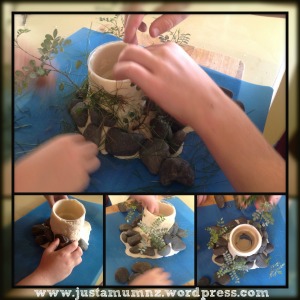
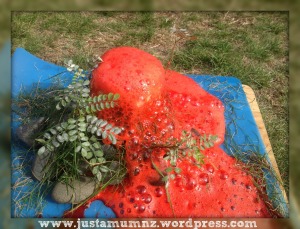
The fun with not letting it dry was they could then decorate it – with some stones, grass and ‘trees’ so it looked like a real mountain.
Ingredients for Salt Dough
1 Cup Salt
2 Cups Flour
1 Cup Water
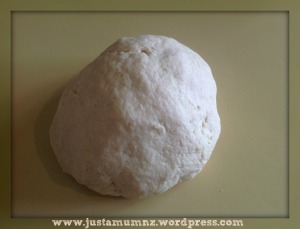
Add all the ingredients to a large bowl, when it starts to just combine tip it onto the bench and knead it well until it begins to blend together and resemble a soft pliable dough.
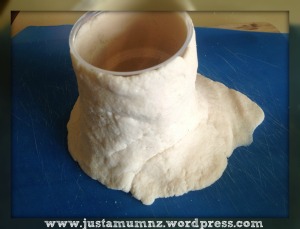
Using a plastic mat or tray we used a small amount of the dough to hold a plastic cup in place then we moulded the dough around the outside of the cup to look volcano like!
The boys then raided the garden for the decorations.
Then it was time to take it outside and get ready for the lava!
Lava Ingredients
Baking Soda
White or Malt Vinegar
Red Food Colouring
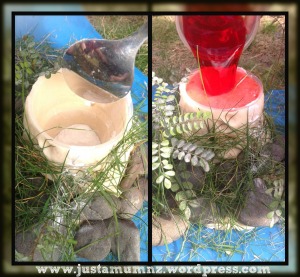
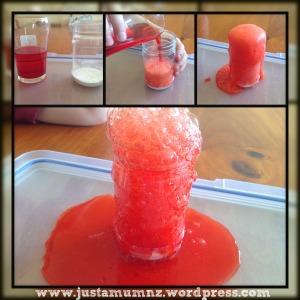
Add two Tablespoons of baking soda to the cup, then after combining white vinegar with red food colouring gently pour the vinegar into the cup – stop once the lava begins to flow out the top – and sit back and watch – it happens pretty quickly!
Of course the boys wanted to do it again and again so we ended up using malt vinegar and this made quite a different slower reaction with the baking soda. We simply added a teaspoon or so more baking soda each time and again gently pour in the vinegar.
So much fun, yes its messy and the dough is ruined but the fun they had was worth it!
I recommend if you have the time making the salt dough a few days out and mould around an old cup that is suitable for baking. Then you can paint the volcano appropriate colours and if you have some use lacquer to seal the volcano so you can use it again and again.
A week or so ago we did this but without the salt dough volcano and it was just as much fun! All you need is a suitable container for the ‘volcano’ and a lid or tray to catch the lava. Easy!
Thanks for stopping by today – you can follow my blog by registering your email above left, or I am on Facebook and Twitter – lots of yummy recipes and fun activities for kids.
Have Fun! 🙂

